
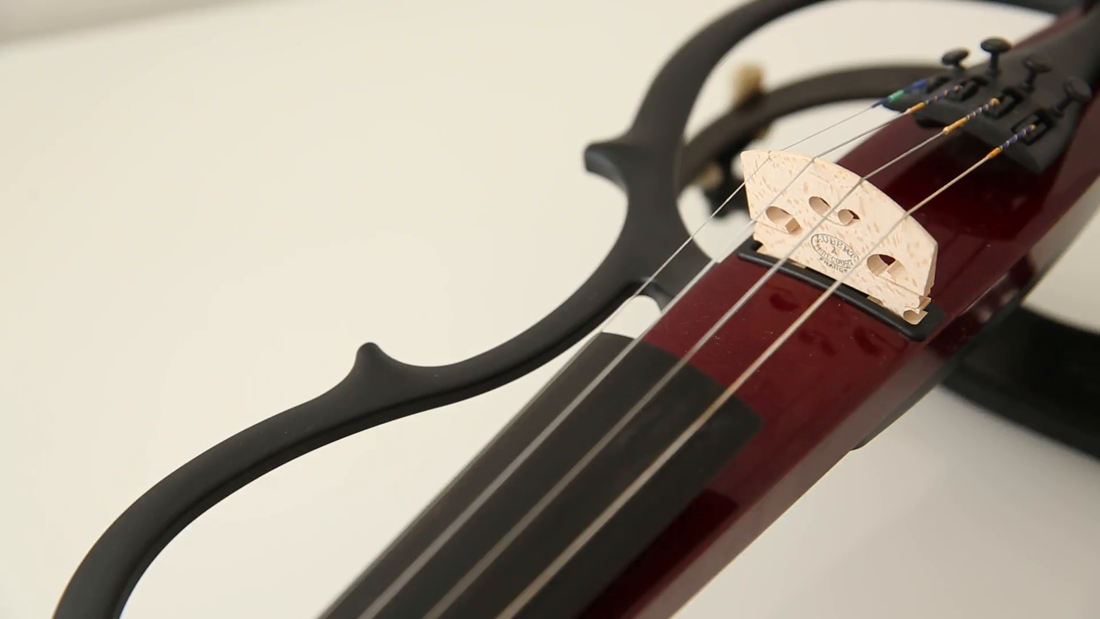
 When Is The Best Time To Start Violin Lessons For Your Kids
As parents, we work and strive to provide our children with many opportunities possible to make them succeed in life. Some of these opportunities can come from music. Over the last couple of years, scientific evidence has pointed to the numerous ways in music lessons can help boost brain development in kids. In fact, research has shown that music is among the most effective ways to help children in building motor skills, cognitive growth and enhanced learning comprehension. However, with this in mind, many parents still wonder when the right time is for their children to begin lessons. With all the information available, parents can be equipped to know the best time to start violin lessons because this is a critical period. Being too early or too late can spell disaster. Early Immersion Starting from around birth to about the age of two, parents can introduce basic music concepts kids will love. Singing along to some baby songs while clapping, and making gentle movements like swaying can help create cognitive connections to the sound being played. As the child grows older, you can increase your child’s exposure to more formal aspects of music. As your child progresses with age, and becomes more aware you should still continue training at home, and get them to enroll for early age music lessons at school and at the local community center where they can meet other kids. The whole idea is to get them focused on recognizing different tunes, rhythms, melodies and different musical instruments. Recordings and flashcards will just fine. When it comes to the best time to start violin lessons for your kids, one of the common mistakes parents make is starting instrument training very early. If you introduce your child to violin training before they are ready, it could pressure them into rebellion and resentment. In fact, although pleasurable activities can bolster cognitive growth, research has shown forcing young kids to learn instruments can affect them negatively and hinder brain development. Best Time to Start Violin for Kids The best time to see whether your child is interested in violin training is around the age of five, preschool age. Violins come in different colors and sizes, so finding the right size and color shouldn’t be an issue. Just make sure you find one that suits their height and arm length. It’s also a good idea to have your child choose the violin they want, this will certainly help keep them involved in something they love and of their own choosing. While private classes are good, there are several online programs that are specifically designed to teach violin for beginners. These can be a more productive option as they are intuitive, interactive and come with games to make the whole learning process fun. Determining the Perfect Age to Start Violin Lessons online Note that when it comes to violin training, there’s no one size for all. It’s a personal decision, and one that involves patience. Understanding your child’s interests will certainly help.  A New Approach to Jazz Improvisation LessonsOne of the fastest ways to master jazz improvisation, no matter what instrument you play, is to start with one scale in one key and really learn to hear all the melodies and patterns in the scale. You don’t need worry about all the other keys in the beginning. Yes, of course eventually you will need to learn them to really be fluent as an improviser. In the beginning though, you need to eliminate as much theory and thinking as possible. As you will see below, your brain and body can do amazing things if you don’t over think what you’re trying to train it to do. Many people, myself included in the beginning, think that they can’t improvise because they don’t know enough scales and harmonic knowledge. That kind of thinking will just hold you back. Jazz improvisation is most quickly learned “by ear”. Listening to other saxophone players that you like and learning to HEAR the lines they are playing is how almost all of the great jazz musicians from the beginning of jazz up until the 1960’s learned how to improvise. In the 50’s and 60’s many great jazz teachers took up residency in the various colleges and began writing books on it. But the best improvisers learned by ear. Too much theory slows down the process. If you want to see proof of how you can learn much faster by ear, just check out any of these videos. In each one, these students have never played the saxophone before starting the method, they learned how to get a decent sound and learned only minimal reading. The method teaches you how to master one scale in one key so that your brain doesn’t get overloaded. The next step is to memorize 6 simple approach note pairs that resolve to target notes in each chord on a simple blues progression. There are many teachers who teach the blues scale and have their students learn a few licks or just let them wander around, but this method absolute teaches you to hear the chord changes and know exactly where you are at all times. Just take a listen to these students and notice how they are hitting all the chord changes. They are not reading anything except the chord symbols. Their are no tricks in the method. Just a straight forward system of teaching that eliminates reading and theory and just trains your ear properly. And it’s not a dead end. It’s only the beginning of training your ear so that you can continue to build on the foundation that it lays. So if you're interested in trying out your improvisation skills, we offer online lessons with limited in person lessons. You can contact us with any of the links below. 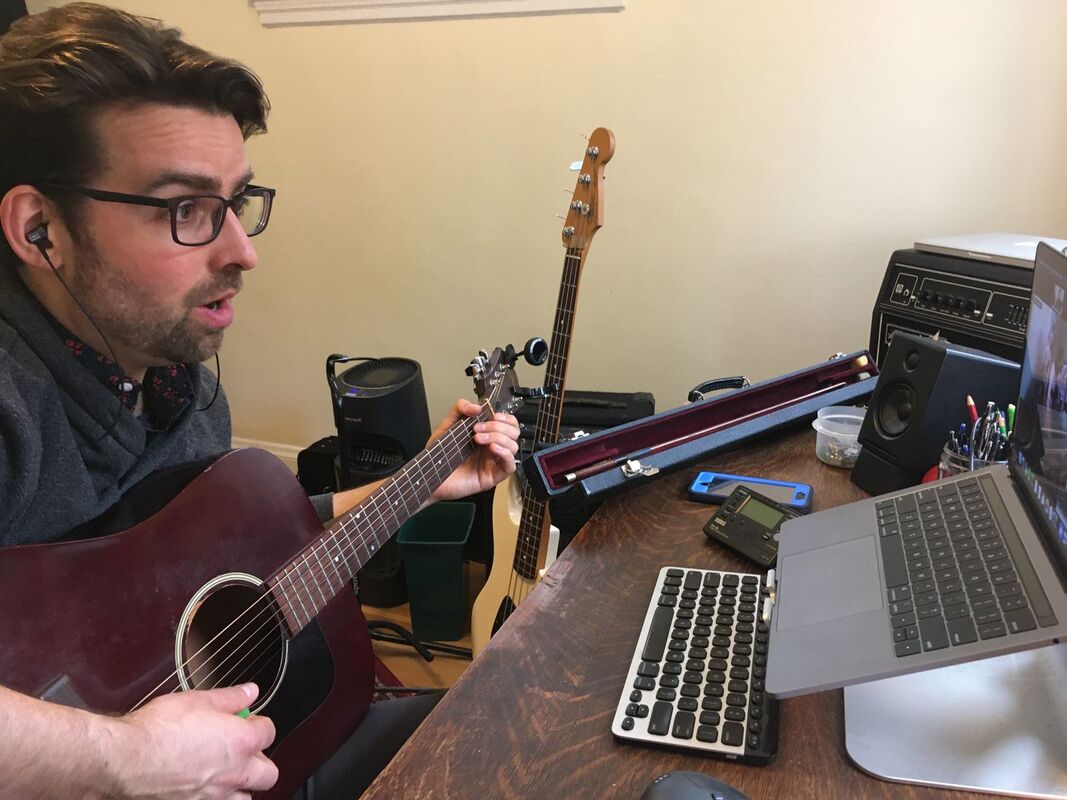 It goes without saying, but a lot of us are finding themselves stuck at home. That’s the bad news. The good news, however, there are a bunch of ways to get going teaching your lessons online without breaking the bank. Maybe you’ve never taught a lesson online in your life. That’s ok–this guide can help.
TWO KEY FACTORS TO KEEP IN MIND For all online one-on-one teaching, there are two major things that will determine the quality of the session:
For music lessons, however, having a good microphone and headphones will make the difference between your online lessons being a breeze versus a torture session. START WITH THE GEAR YOU’VE GOT As with everything in life, the better the gear you’re using, the higher-quality result you’ll get. But don’t worry—even if you’ve just got a phone, tablet, or laptop, you can get a quick & dirty setup to keep those lesson. WAYS TO CONNECT ONLINE WITH STUDENTS FOR LESSONS There are a lot of tools out there for connecting with someone over video, and they continue to grow and evolve over time. But we Definitely Recommend zoom. ZOOM My current favorite method is Zoom. It’s free to use for one-on-one video chats, is available for Mac, PC, and mobile devices, and it seems to be the most stable platform. Both you and your students need to download the Zoom app and create an account. This is easy and quick. You’ll also need to know the email that the student is using for their account. You can schedule a Zoom meeting (aka online lesson) to start at a given time, and you invite your student to that meeting via email. This email link will automatically open up the Zoom app (or prompt them to download it if they haven’t done so). Zoom will then ask both you and your student which video source and audio source to use. If you’re a total newbie and only have your phone, tablet, or laptop, no worries. You’ll be able to see and hear your student just fine. Another great thing about Zoom is that the teacher can record the online lessons on their computer. This doesn’t work on the mobile version of Zoom, but if you’re using your desktop or laptop, you can just click the record button and it will save the lesson to your hard drive. You could then upload the lesson to YouTube as an unlisted video for your student to reference or use it in another fashion. What a cool and useful feature! 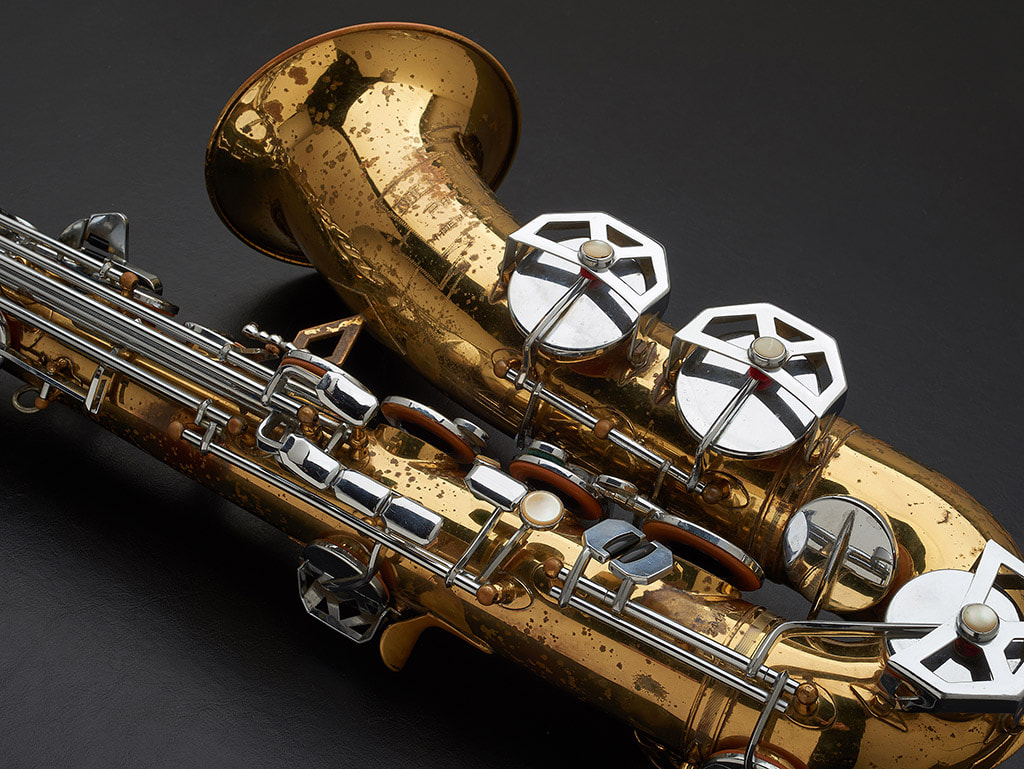 Secrets of Jazz Improvisation on Saxophone, Flute and Clarinet in Popular Music
When I was growing up and trying to learn how to play my saxophone in the 60's there were no good jazz teachers at the time, so everything I learned, I learned by transcribing and figuring out how to play by ear. I think it was a great way to develop my ear and it forced me to listen very hard to exactly what the player was playing but I was on my own trying to figure out what scales and devices the players were using. These days, there are so many transcription books on the market as well as practically every recording ever made by every great saxophone player that a young student is overwhelmed by the amount of information and often doesn't know where to start. What I'm going to tell you today is a secret or a tip that I would have paid big money to have understood. It would have saved me years of searching and trying to figure out what my favorite players were playing. At that time all my training was based on major and minor scales, the modes, and the bebop scale. The kind of music that I was interested in playing was more pop oriented which was heavily influenced by R&B. Every time I tried to play a solo it didn't seem to be in the right style because I was trying to force the scales that I was familiar with into these R&B styled songs. SO MANY OF MY STUDENTS HAVE COME TO ME OVER THE YEARS AND SAID THAT THEY STUDIED WITH ALL THESE "SO CALLED GREAT TEACHERS" THAT ARE FAMOUS PLAYERS BUT THEY DIDN'T FEEL LIKE ANY OF THEM COULD HELP THEM FIGURE OUT WHAT THEY NEEDED TO KNOW TO SOUND GOOD. You may be already figuring out what I'm about to tell you. It doesn't matter whether you're already an improviser or a beginner saxophone player, this one piece of knowledge will help you to understand how to play in all the various styles of jazz. Every style of jazz is based on a specific vocabulary that is derived from a scale. Bebop is based on the bebop scale, so if you're interested in playing bebop you will want to learn that scale thoroughly and the arpeggios that go along with that so that you are able to play and understand what other players are playing in that style and then analyze what catches your ear and turns you on. With that in mind, the secret that I am going to uncover for you today is simply this: Most contemporary pop music is based on the pentatonic scale and the pentatonic/blues scale (which is the pentatonic scale with an added flat 5th). You may say to yourself, well why is that such a great secret and how can that help me become a better saxophone player? Well, I'm going to explain how by learning that scale, you will be able to easily learn how to sound really hip in the contemporary pop scene today.Just by understanding that one thing and having the technique under your fingers, you will be able to cut down the amount of time it takes you to learn how to play a burning solo in almost all contemporary music today. Everything in the blues style is based on it. As far back as Albert Collins, BB King and other blues guitarists of the late 50s and 60s, their entire career was based on the blues scale. As music evolved, that scale continued to dominate the pop music scene through R&B music and contemporary pop. If you've ever tried to learn a pop song melody, or tried to learn a solo that you heard, if you were anything like me, you wouldn't have been able to figure out what was going on. However, by memorizing the pentatonic and the blues scale in what ever song you're trying to learn to play or improvise on you will begin to understand just how easy it can be to play without any wrong notes over most pop music chord progressions. For example, before I understood this in my early days of learning to play the saxophone, I was under the misconception that every chord change needed to have a specific scale that ran through it and all my solos sounded a bit forced. What I eventually figured out was that with the pentatonic blues scale I could play over many different chord changes with that one scale, and that would be the hippest way to play over those progressions. Even when you simply trying to learn a melody of a pop tune or R&B tune, if you learn the pentatonic blues in that key you will often find that the melody is based mostly or entirely on that scale. Let's look at some examples of pop melodies and see how well that applies: 1. Let's 1st look at the new Lady Gaga tune which I transcribed the melody and recorded a couple lessons on how to play it in a youtube video. Just click the link below to see the PDF that you can download. If we start at the pre-chorus you can see that the entire pre-chorus and chorus is based on an E minor pentatonic scale. G–A-B–C#-E. Just by knowing that, that melody becomes a super easy melody to not only transcribe but to also memorize. Further, if you were to solo or improvise around the melody itself you would sound the most tasteful playing that E minor pentatonic or E minor pentatonic blues scale. 2. Next, let's take a look at "Suit and Tie" by Justin Timberlake. Download the PDF below. Again, we will analyze the pre-chorus and chorus only. Here we see in the alto sax key that almost the entire tune is based on a G sharp minor pentatonic. (G#-B-C#-D#-F#). So if you were trying to transcribe this song because of the difficulty of the key you may not recognize that it's all with in this pentatonic scale (except for 2 places where it adds in A#). So once again if we just to learn that pentatonic scale, get it under your fingers then when you are listening along to figure out the notes you would see how easy it would be to figure out the song. 3. Another's example is up to that I recorded as well as did it a lesson for you on YouTube,” Firework” by Katy Perry. Download the PDF below to follow along as I show you how the entire verse is based on a D minor pentatonic scale(D-F-G-A-C). Again just learn that scale and this is also an easy song to transcribe on your own. 4. Here's another example of an entire solo that is really recognizable. This is a pretty famous saxophone solo that is based entirely on the B minor Pentatonic scale (B-C#-D_E |
Archives
July 2024
Categories
All
|
 RSS Feed
|
Music Lessons Available on All Instruments:
Piano Lessons
Guitar Lessons Voice Lessons Drum Lessons Violin Lessons Cello Lessons Saxophone Lessons Jazz Improvisation Lessons Flute Lessons Clarinet Lessons Singing Lessons Acoustic & Elec Bass Songwriting & Production |
Contact Us Now
|


Website by Never Alone Business Services